


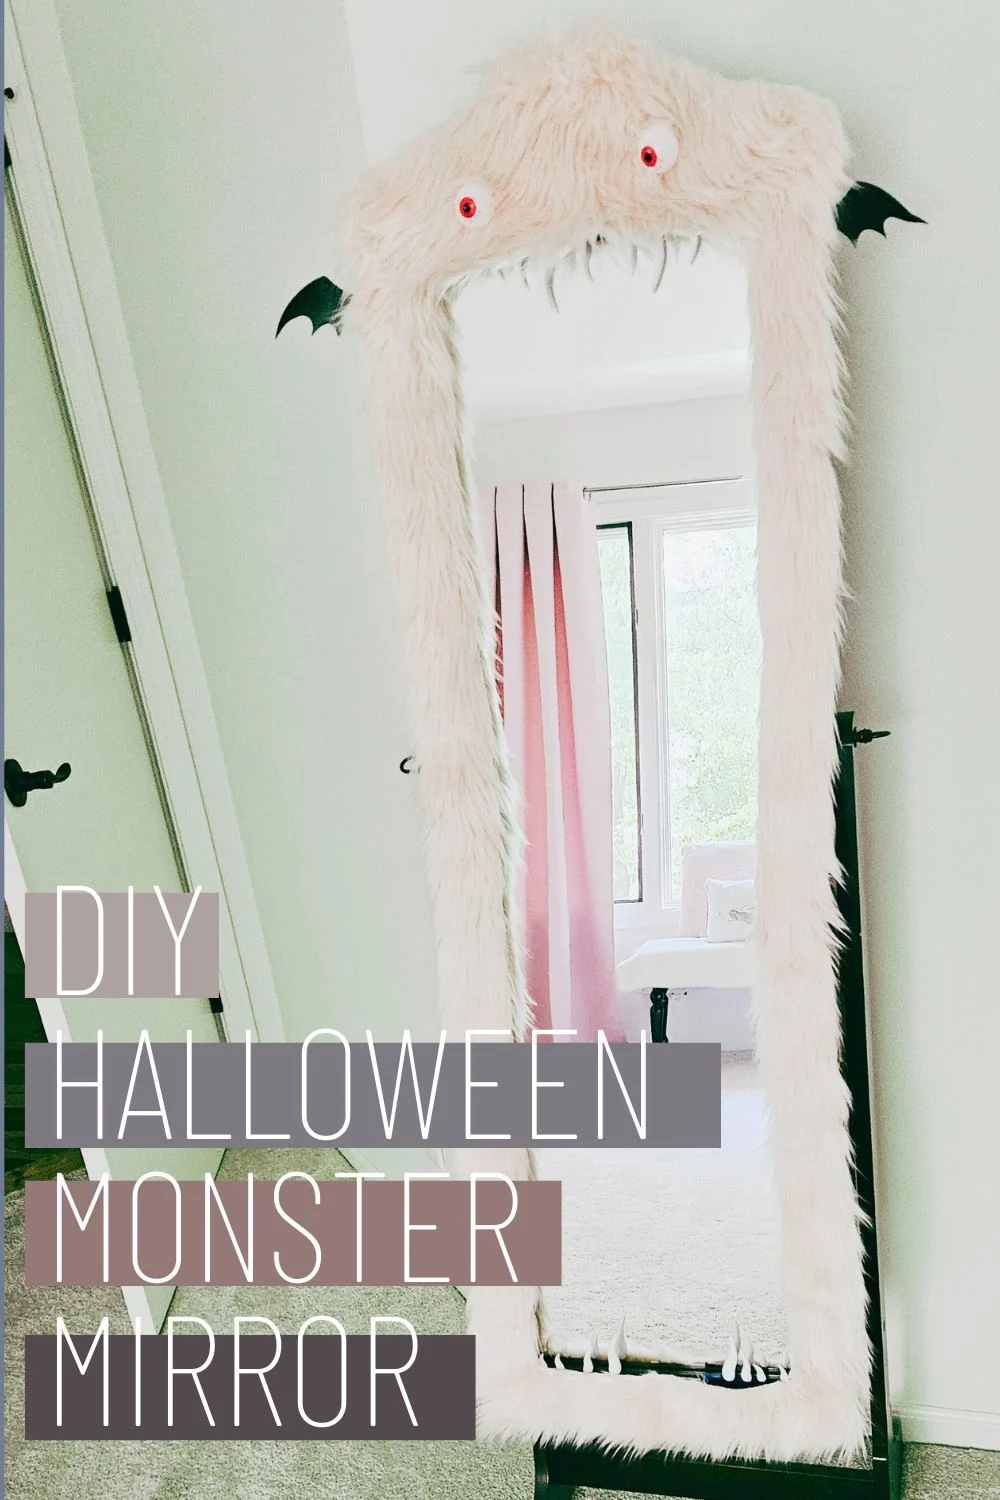
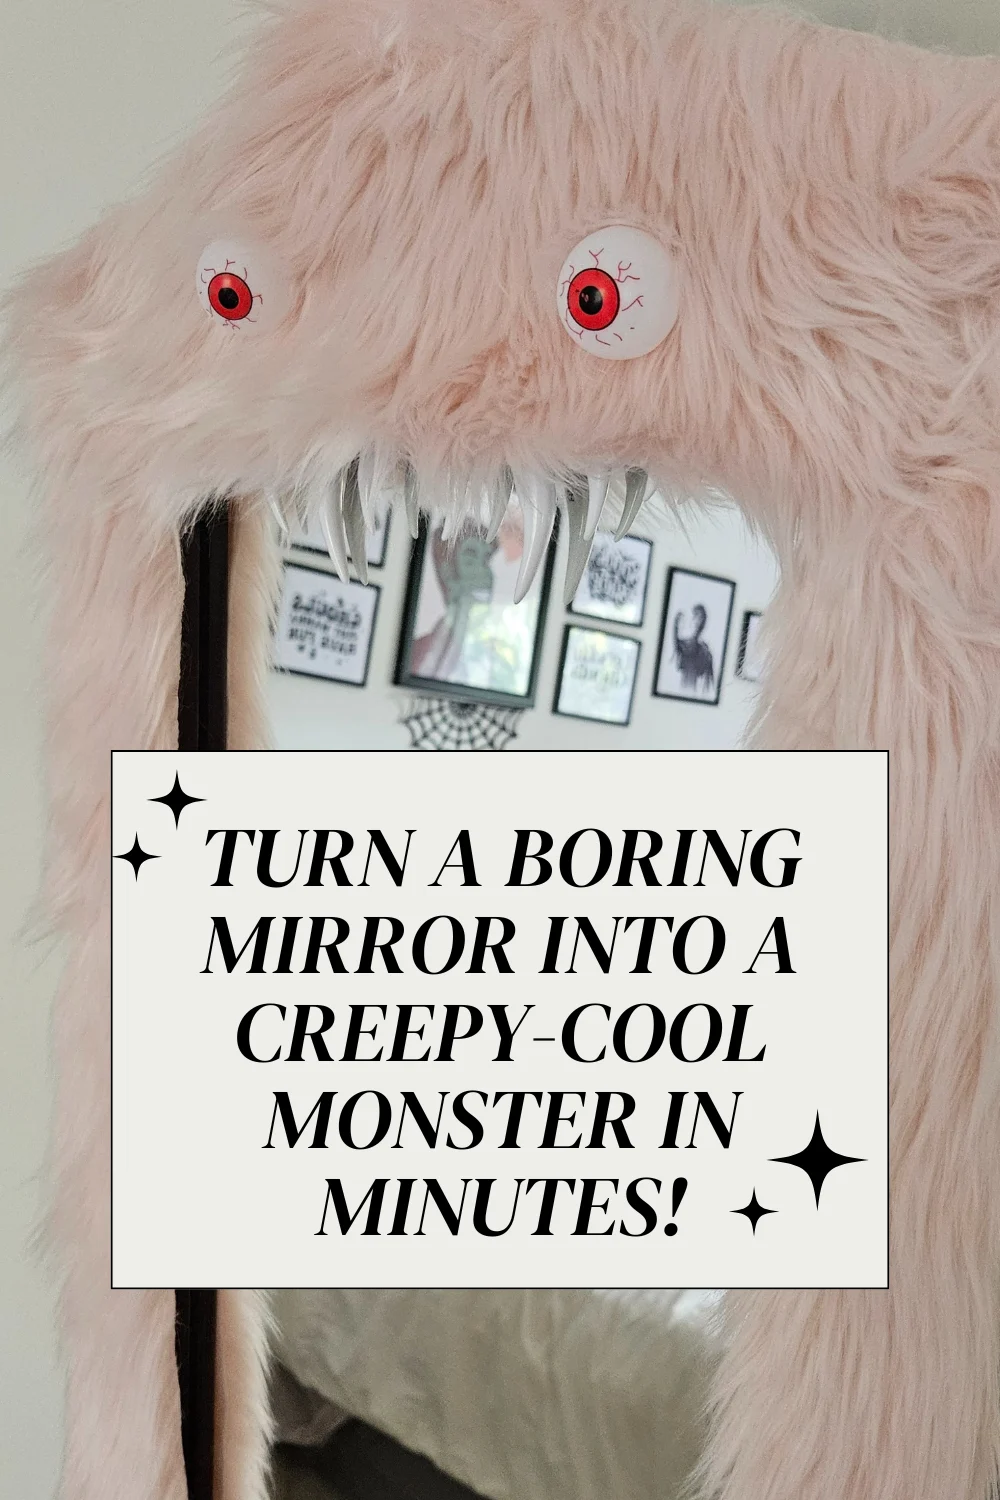
A monster mirror is a creative way to add a playful yet spooky touch to your Halloween decor or even serve as a whimsical addition to a child’s room. With a bit of faux fur, some magnets, and a few creepy-cute embellishments, you can transform a standard mirror into a character that “reflects” the fun of Halloween. This is our monster mirror, what do you think our monster’s name should be?

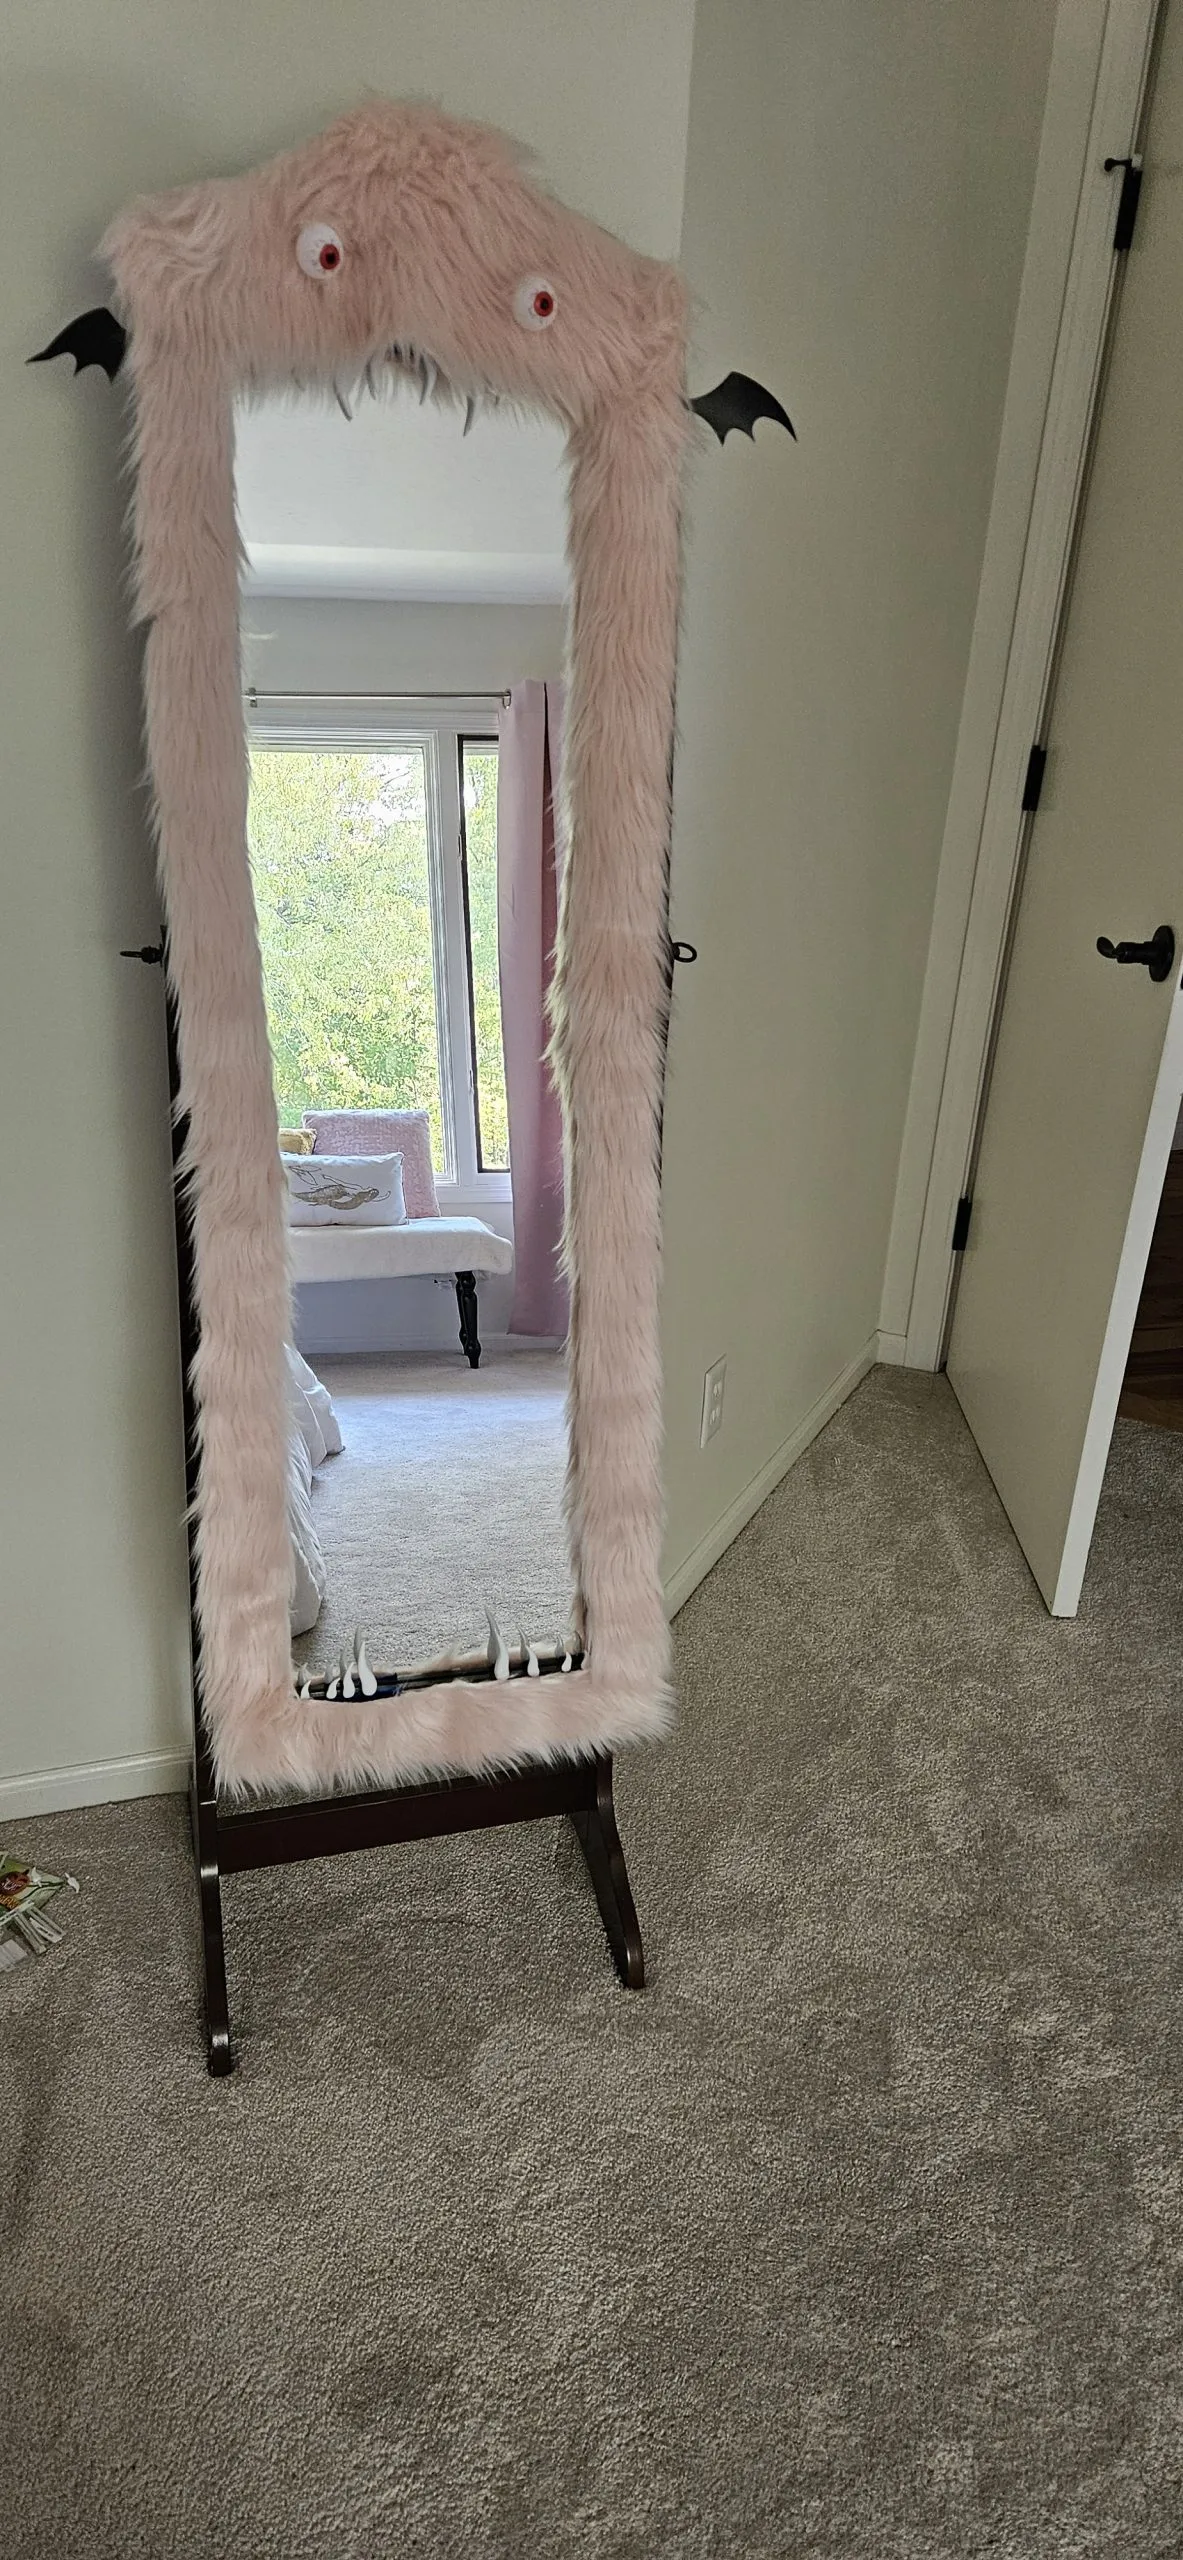
Let’s dive into the steps to make this DIY monster mirror, complete with furry texture, googly eyes, and sharp teeth.
Materials Needed
To make your own monster mirror, gather these supplies:
- Framed mirror: You can use a full-length mirror or a smaller one, depending on your preference.
- Faux fur fabric: Choose a color that suits your theme; pink, green, or blue work well for a whimsical look, or go with black or gray for a creepier vibe.
- Small adhesive magnets: Strong magnets work best for holding the faux fur and embellishments securely. Make sure they’re safe for use on glass surfaces.
- googly eyes or plastic eyes: Larger eyes work best for a more exaggerated monster look.
- Polymer clay or foam teeth: You can mold the teeth from white polymer clay, bake them, and attach magnets to hold them in place. Alternatively, foam or plastic teeth from a craft store will also work.
- Scissors: For cutting the faux fur to the right size.
- Painter’s tape: To protect areas of the mirror that you don’t want to cover.
- Black felt or craft foam: Optional, for adding extra features like bat wings or claws.
Step-by-Step Instructions
View this post on Instagram
Step 1: Prepare the Mirror
- Clean the Mirror Surface: Start by cleaning the mirror with glass cleaner to ensure a smooth, clean surface for your monster frame. Use a lint-free cloth to wipe away dust and fingerprints.
- Protect the Mirror Frame: Use painter’s tape to cover any areas you don’t want to cover with fur or magnets. This step helps keep your design neat and prevents magnets from sticking to unwanted areas.
Step 2: Measure and Cut the Faux fur
- Measure the Frame: Lay the faux fur fabric over your mirror frame to determine the size needed. Measure carefully, leaving a bit of extra fabric around the edges to fully cover the frame.
- Cut the Fur: Cut out strips of faux fur for each side of the frame. Use scissors with sharp blades to avoid fraying and to keep the fur looking neat. Cut slowly and carefully to avoid cutting too much of the fur itself – just the fabric backing.
Tip: When cutting faux fur, use the tip of your scissors to make short snips on the backing. This technique minimizes shedding and keeps the fur looking full and fluffy.
Step 3: Attach magnets to the Fur
- Attach Painters Tape to the Mirror: Place Painters tape where you plant to use magnets so in most cases is along the boarder.
- Attach Magnets to the Painters Tape: Place corresponding magnets on the mirror frame, where you have the painters tape. This will allow you to remove the fur if you want to use the mirror without the monster decorations later.
- Attach Safety Pins to the Faux Fur: Use safety pins on the edges of the faux fur strips. Place them at regular intervals (about every 3-4 inches) to ensure the fur attaches securely along the frame.
- Test the Fit: Attach the fur strips to the mirror frame, ensuring they sit snugly. If needed, add more magnets for extra support.


Step 4: Add the Monster’s Eyes
- Choose Your Eye Placement: For the best effect, place the eyes at the top of the mirror. Experiment with different placements by holding the eyes in various positions and seeing what looks best.
- Attach Magnets to the Eyes: Use adhesive magnets on the back of each googly eyes or plastic eye. Ensure that the magnet strength is sufficient to hold the eyes on the mirror surface.
- Place the Eyes: Attach the eyes to the mirror in your chosen position. For a whimsical effect, position the eyes slightly off-center or angled differently.
Step 5: Create and Attach the Teeth
- Mold the Teeth: If using polymer clay, shape small pointed teeth to line the bottom of the mirror frame. Make sure they’re roughly the same size for a cohesive look. Bake the clay teeth according to the package instructions. If buying teeth, you can skip this step.
- Attach Magnets to the Teeth: After cooling, attach small adhesive magnets to the back of each tooth. This allows you to position them securely along the bottom of the mirror.
- Position for Optimal Effect: Attach each tooth to the mirror, spacing them evenly for a classic monster grin, or vary the spacing for a quirky effect. Make sure the teeth are visible without blocking too much of the mirror.
Step 6: Add Extra Monster Features (Optional)
To give your monster mirror more personality, add features like bat wings, horns, or a nose. Here’s how:
- Bat Wings: Cut wing shapes from black felt or craft foam. Attach magnets to each wing, allowing you to place them on the sides of the mirror.
- Horns: Use small, twisted pieces of clay to make horns, or use rolled-up felt for a softer look. Attach with magnets at the top corners.
- Eyebrows or Eyelids: Glue on additional fur or felt pieces above the eyes to give the monster more character.
Optional Glow-in-the-Dark Paint: For an eerie glow at night, paint sections of the teeth or eyes with glow-in-the-dark paint.
Step 7: Finishing Touches
- Trim Excess Fur: Carefully trim any excess fur around the edges for a clean, polished look.
- Remove Painter’s Tape: Carefully peel off any painter’s tape from the frame, ensuring that no magnets or fur are pulled away.
- Check for Stability: Double-check that all magnets are secure and positioned well to hold the fur and decorations. Add more magnets if necessary for a firm hold.
Display Ideas for Your Monster Mirror
Once your mirror is complete, hang it in a spot where it can surprise and delight! Here are some ideas:
- Entrance Hallway: Place the mirror near your home’s entrance so guests are greeted by the monster.
- Guest Bathroom: Complete the look a mini skeleton in a bath, check it out here in our 9 Spooky Halloween Decor Ideas.
- Halloween Party Decor: It’s a perfect conversation starter for Halloween parties or spooky gatherings.
- Kids’ Room Decor: For a whimsical touch, hang it in a child’s room as a fun piece that brings their favorite monster stories to life.
Additional Tips for Customizing Your Monster Mirror
- Color Scheme: Experiment with different colors of fur and embellishments. A bright, playful monster with pink fur and blue eyes will create a fun vibe, while dark fur and red eyes give a spooky, eerie look.
- Textured Fur: Try different types of faux fur, like shaggy or short-pile, to change the monster’s appearance.
- Personalize with Accessories: Add items like a witch’s hat, a bowtie, or earrings to give your monster a distinct personality.
With these steps, you’re all set to create your own DIY monster mirror using magnets for easy setup and removal! Enjoy your fun, spooky, and removable Halloween decor!

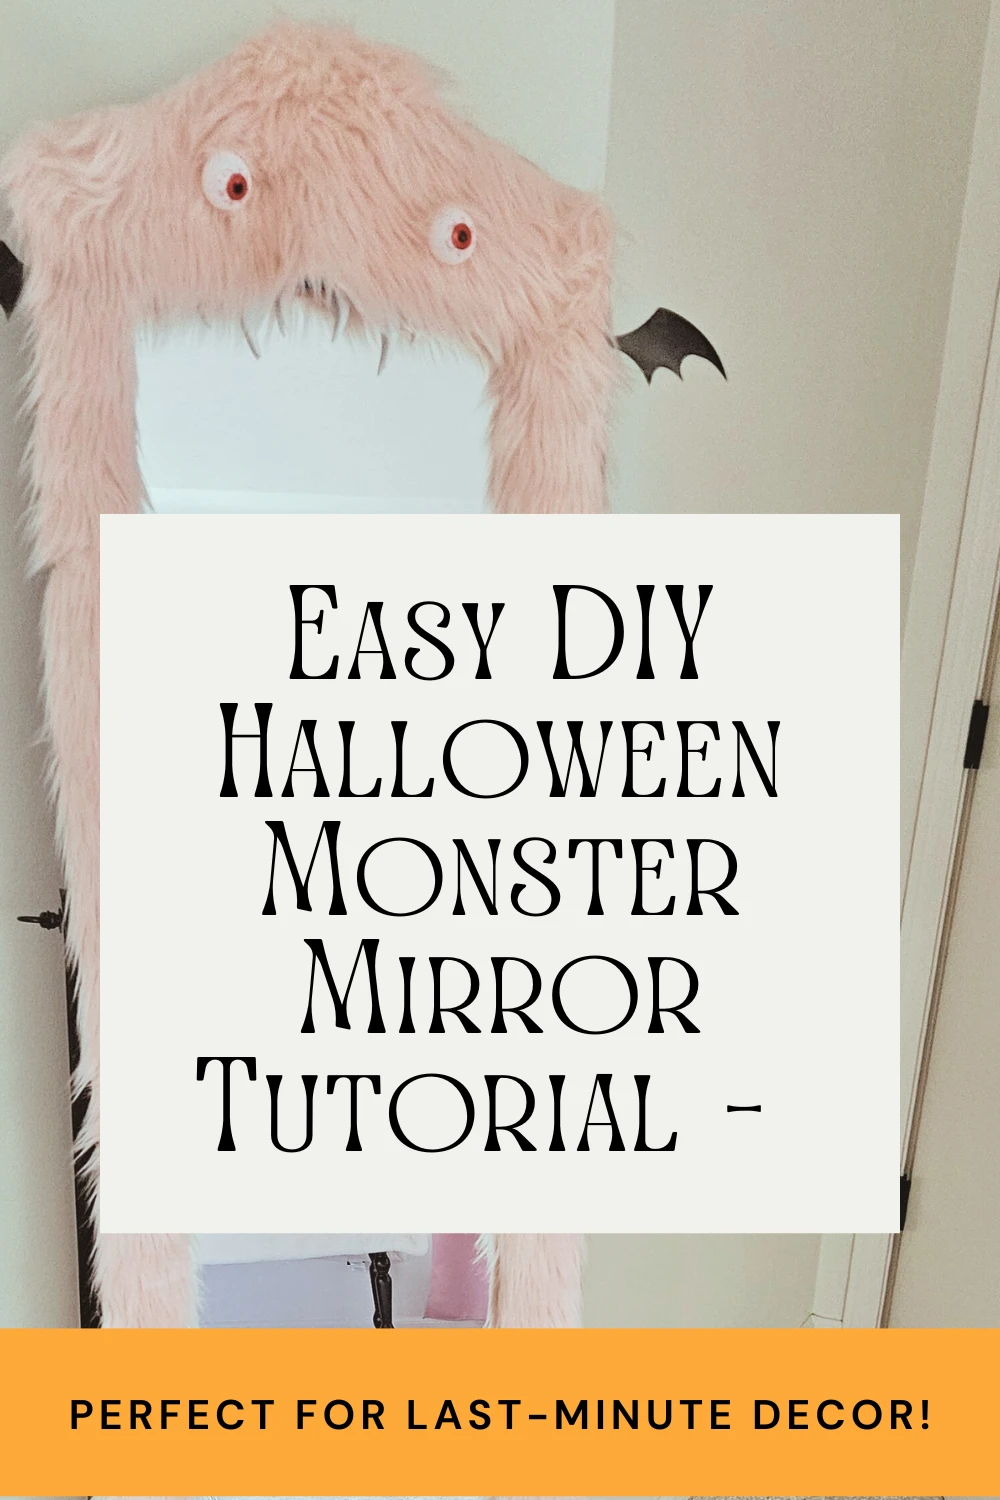


Monster Mirror Tutorial
Q: What materials do I need for a DIY Monster Mirror?
A: You’ll need a framed mirror, faux fur, googly eyes or plastic eyes, glue, scissors, polymer clay for teeth, and any optional details like bat wings or horns.
Q: Can I make a monster mirror without faux fur?
A: Yes! You can use other textured materials like felt or even paint directly on the mirror for a simpler design.
Q: How long does it take to make a monster mirror?
A: Depending on the level of detail, it can take 1-2 hours to complete, plus drying time.
Q: Can I customize the colors and features?
A: Absolutely! Customize your monster mirror with any color fur, eye shape, or added accessories to fit your theme.


We’re two sisters with a passion for wearable style and interior design mixed in with some self-care and family tips. Our blog is dedicated to helping you find your unique fashion formula, both in your wardrobe and your living space. Follow us for style tips, home décor inspiration, self care ideas, family advice that help you create changes that reflect who you are.