


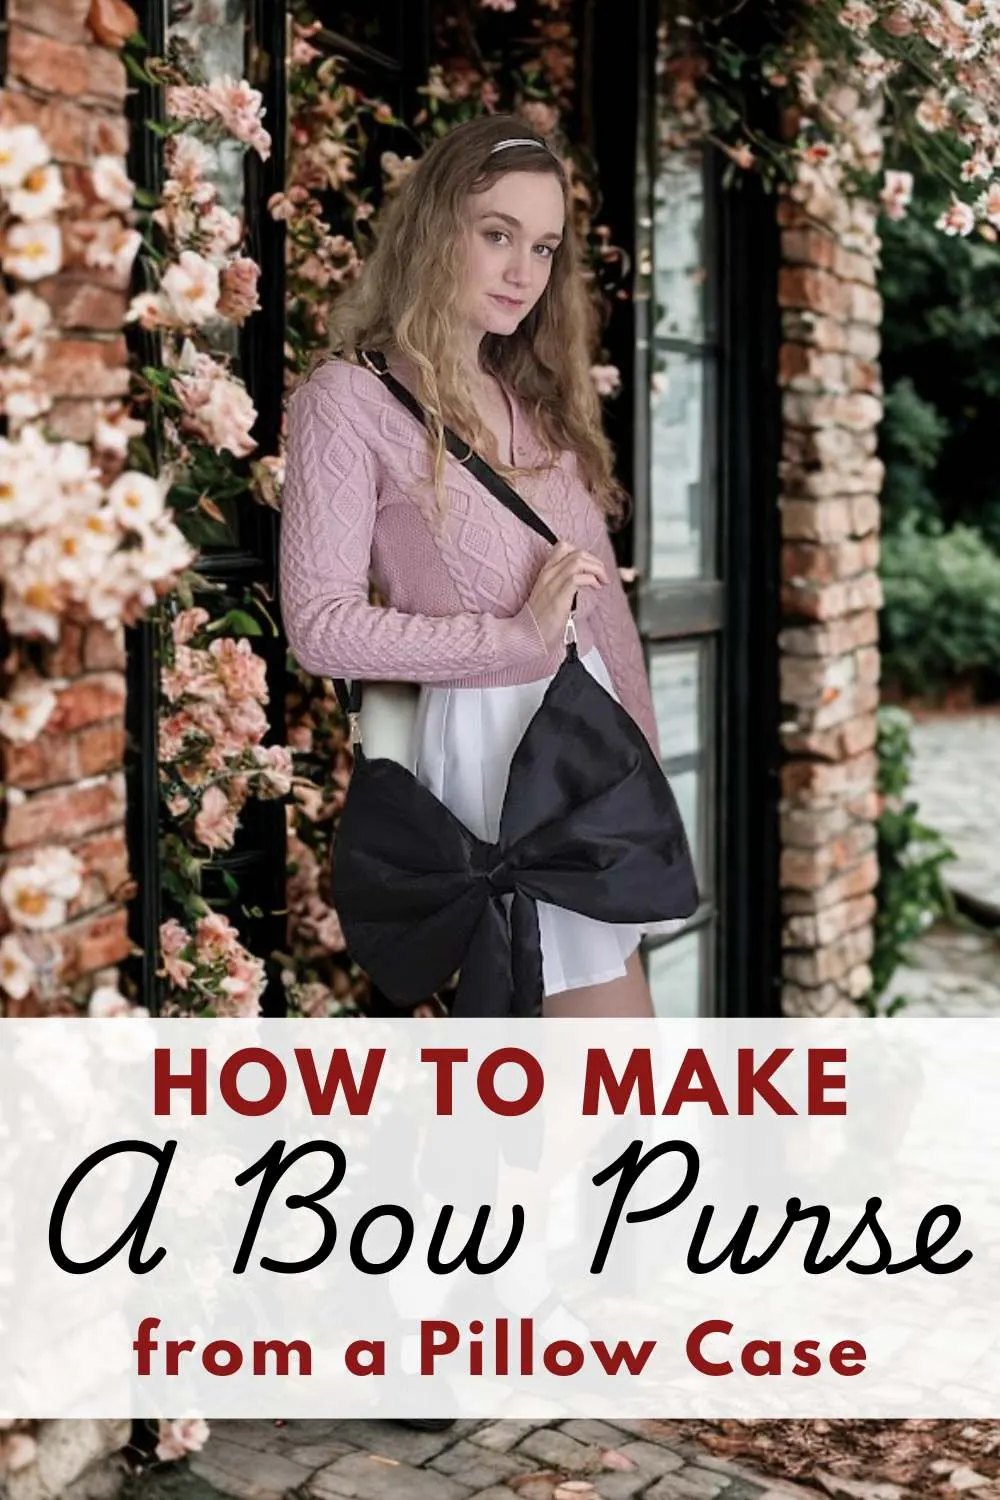
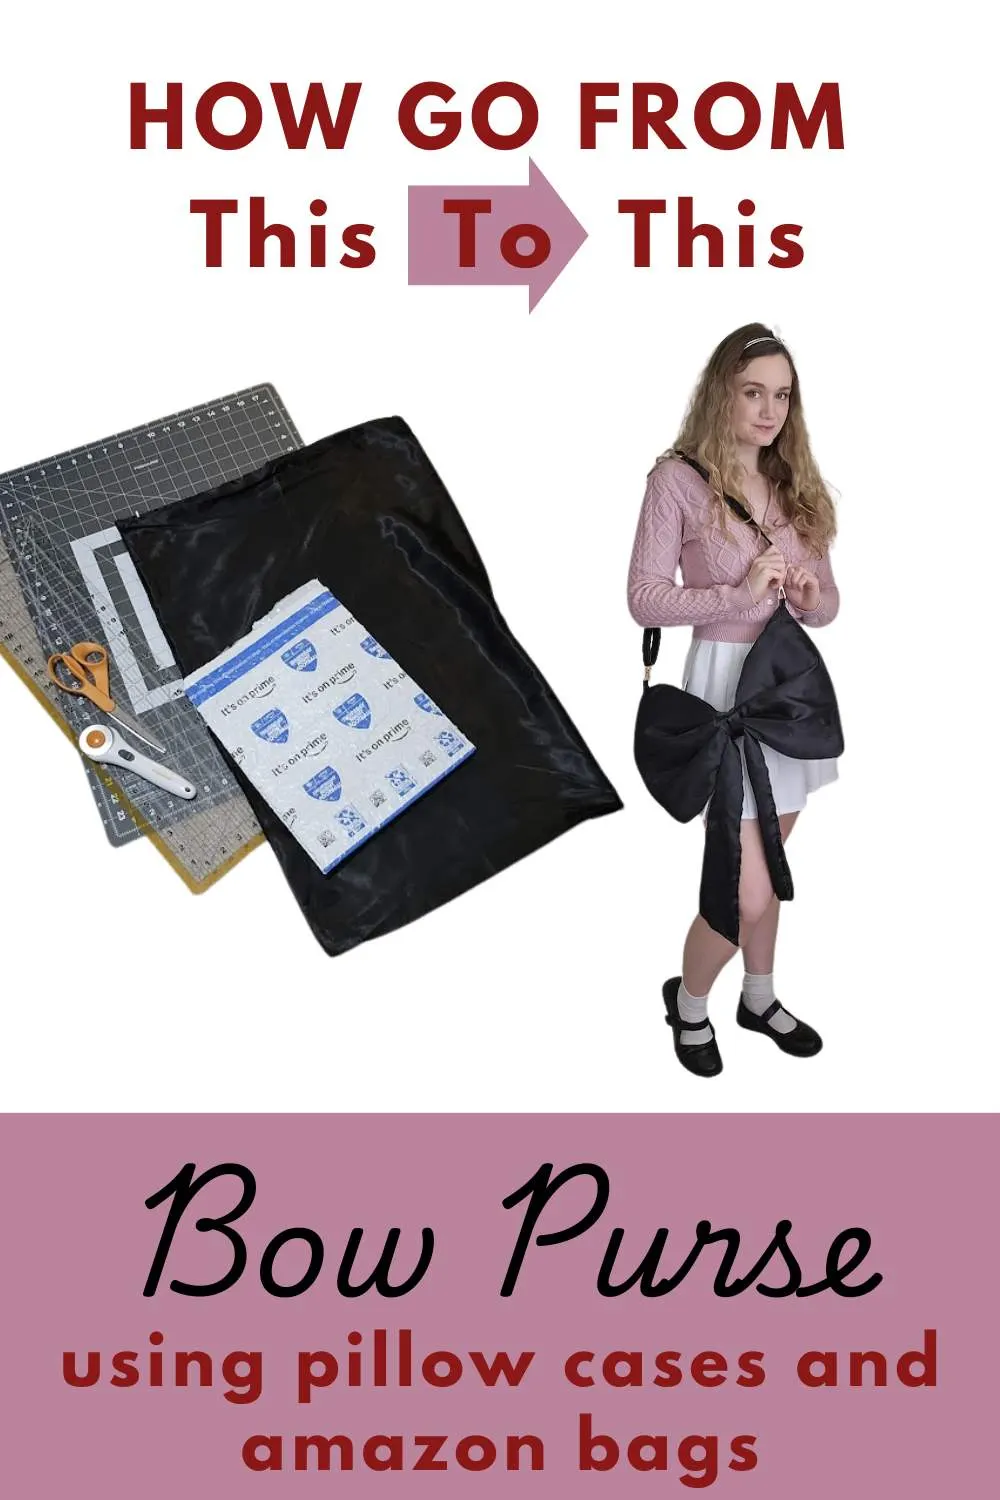
If you’re looking for a unique and adorable handmade accessory, this DIY bow purse is the perfect project! Made from an upcycled zippered pillowcase, this purse is stylish, functional, and surprisingly simple to make. Follow along as we turn everyday items into a show-stopping bow purse—perfect as a gift or a statement piece for yourself!
Supplies You’ll Need
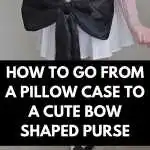
- A zip-up pillowcase (this will be the outer shell of your purse)
- Thread (matching the pillowcase color)
- A second pillowcase or lining fabric (for the purse’s interior)
- Crinoline or an alternative for stiffness (Amazon Prime bags work great!)
- Purse strap (adjustable or chain, depending on preference)
- Sewing machine, scissors, and pins
- Hand-sewing needle (for final stitches)
- Hot glue gun (to tack down stiffness layer)

Step 1: Creating the Purse Base
- Cut the zippered pillowcase in half – This will form the main body of your purse.
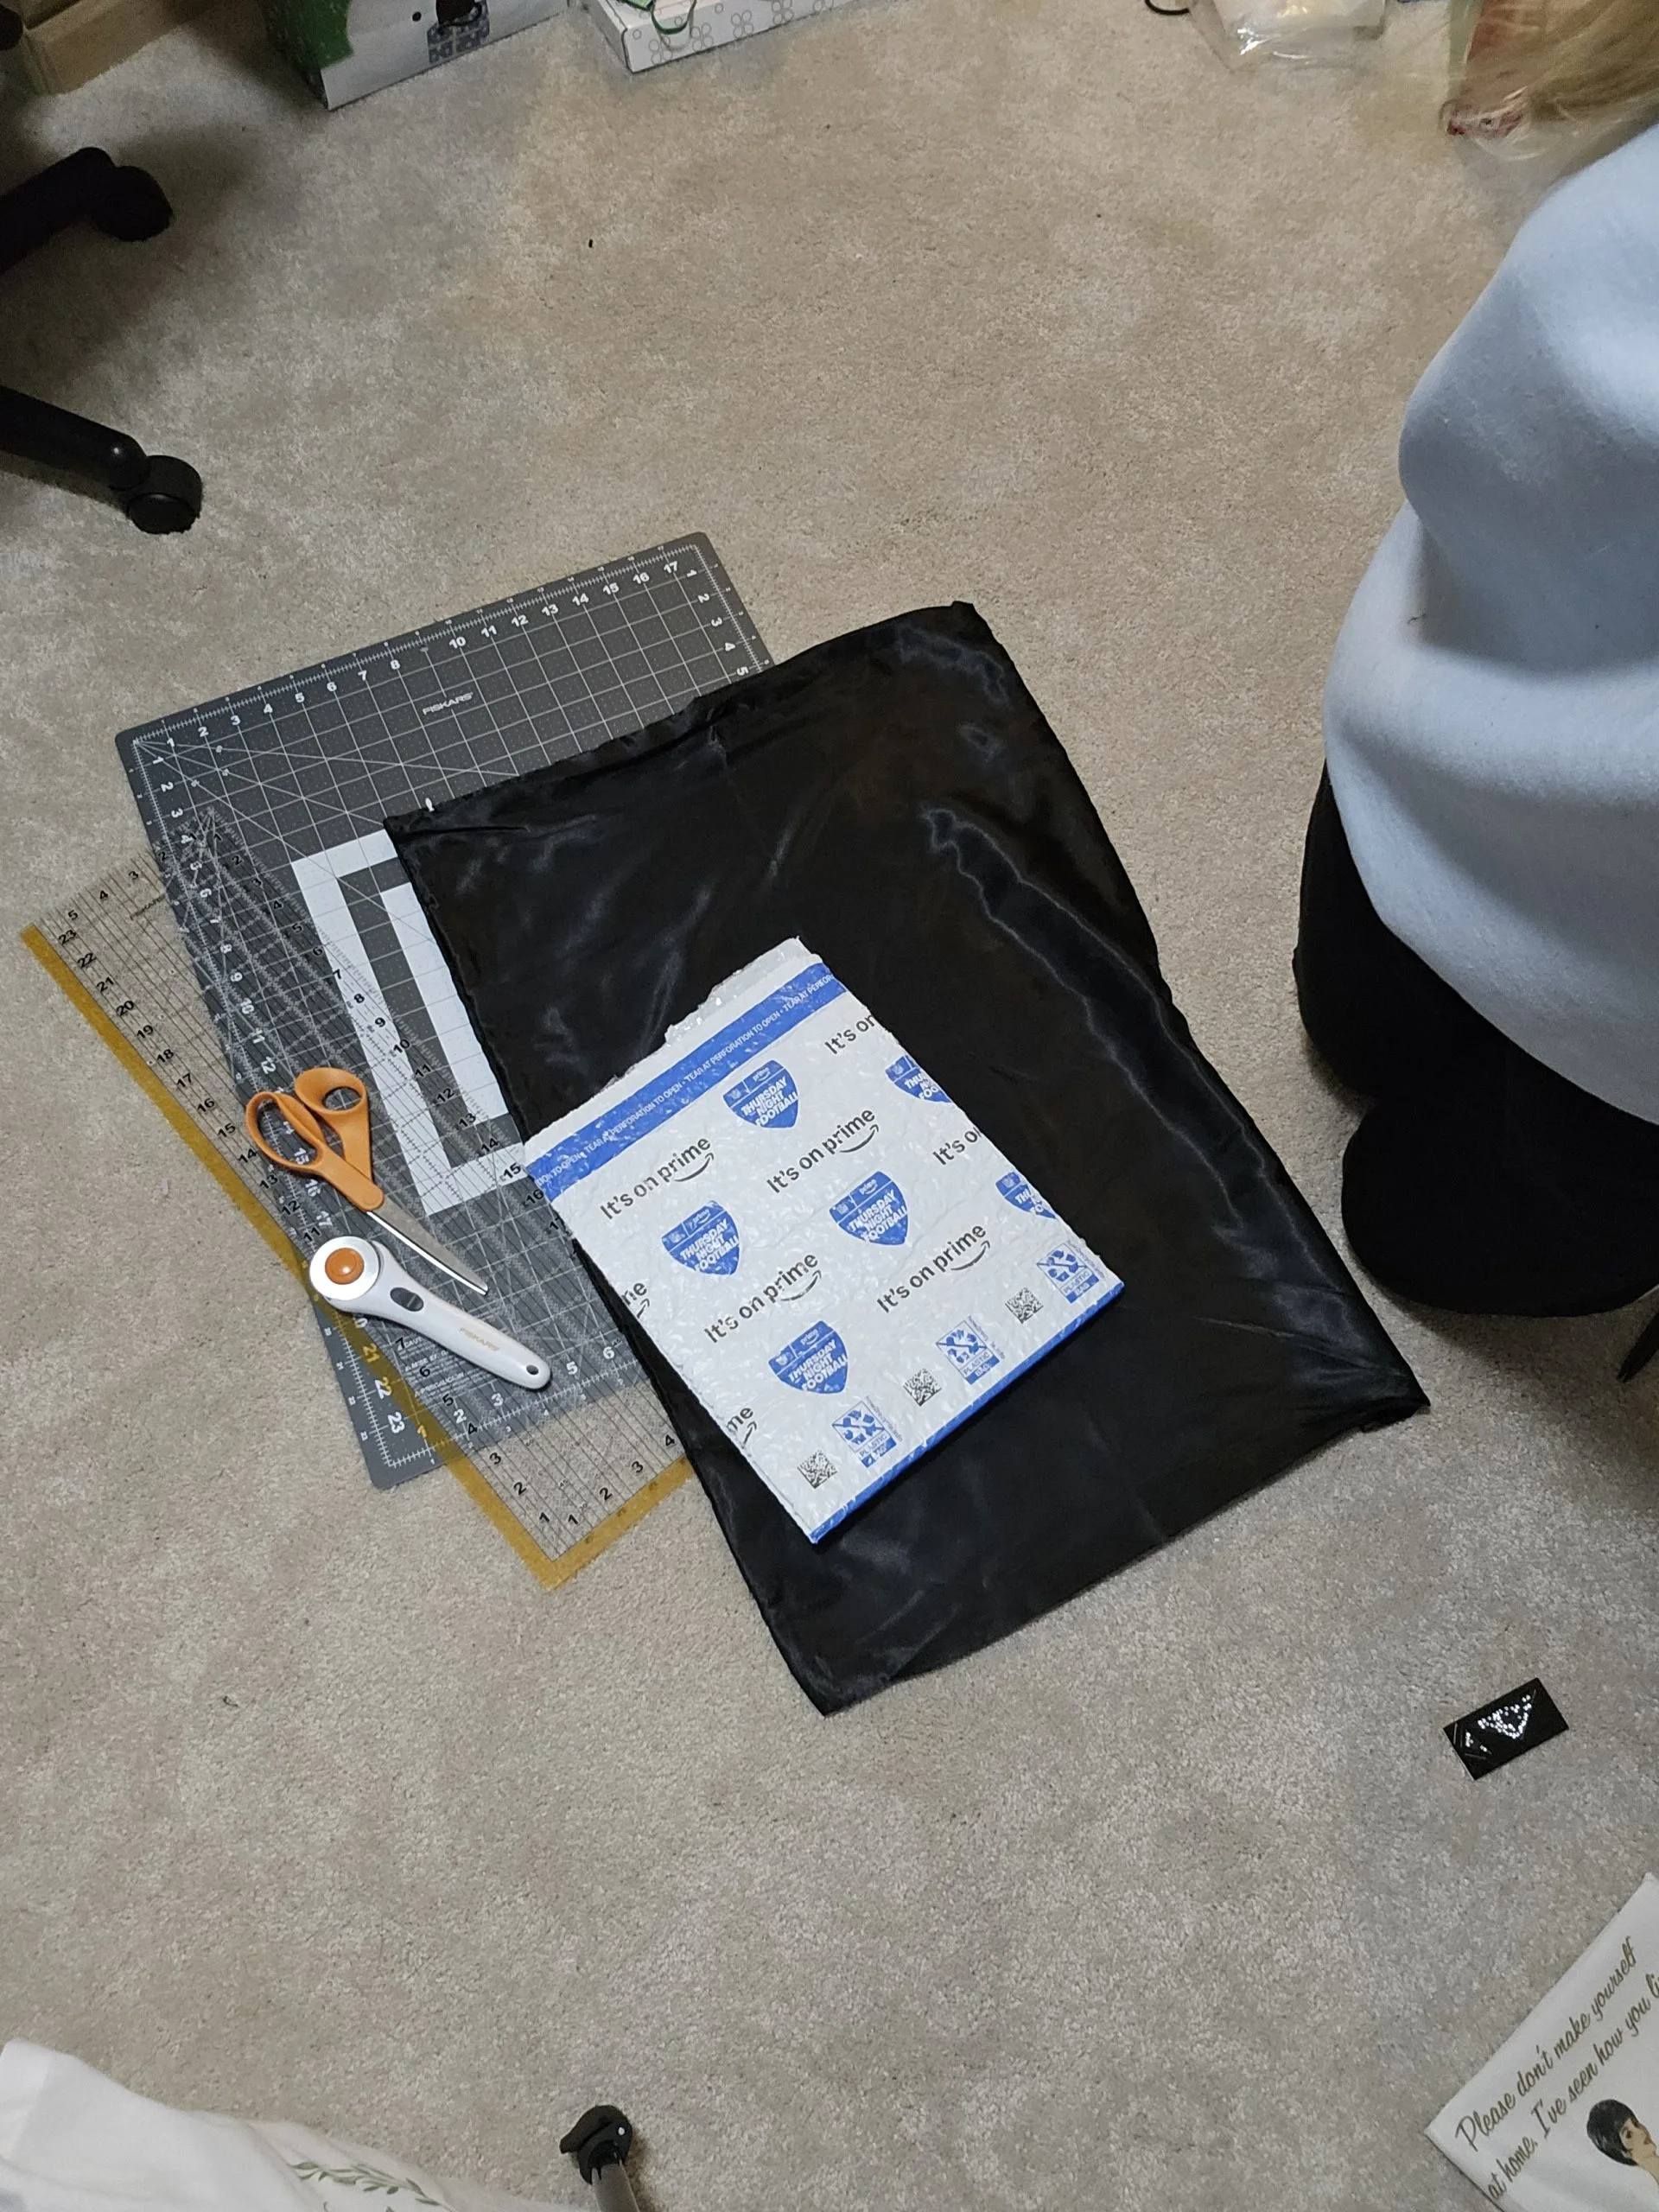
- Prepare the stiffness layer – Cut your Amazon Prime bag (or crinoline substitute) to size.
- Attach the stiffness layer – With the pillowcase turned inside out, use hot glue to tack the Amazon Prime bag in place, focusing on the corners.

Step 2: Adding the Lining
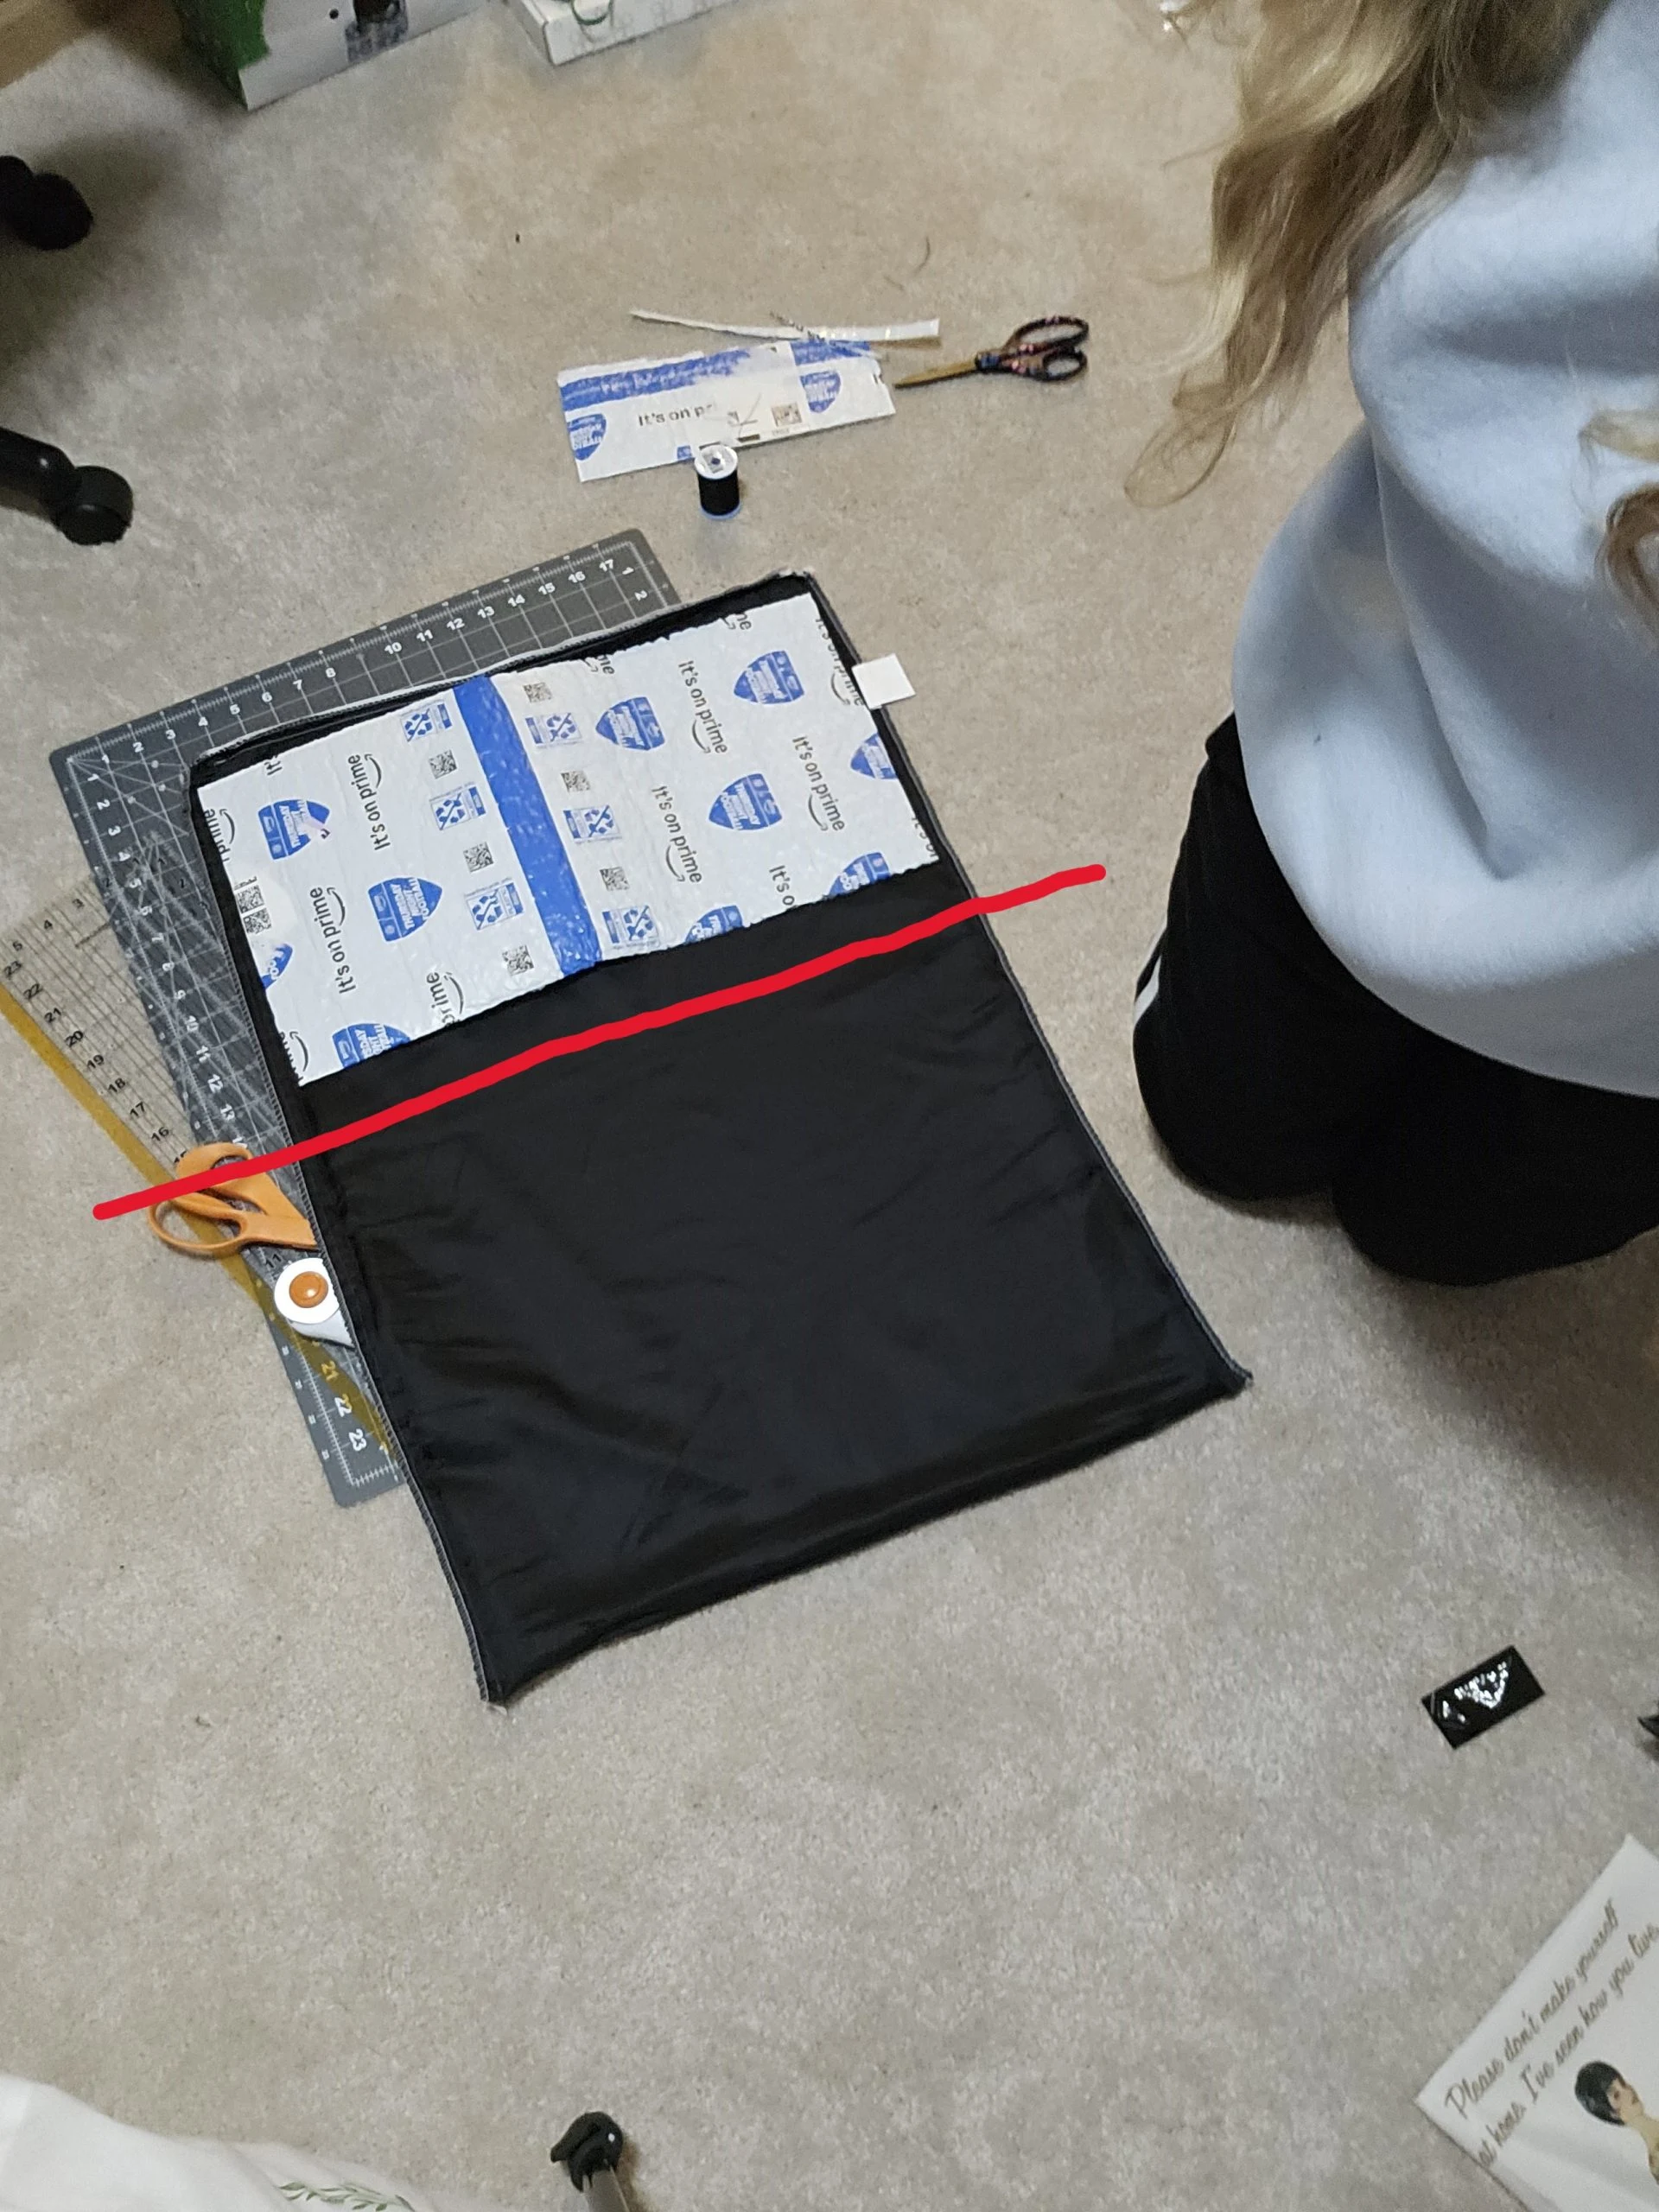
- Take the second pillowcase (mine is white in the photo) and cut it to the same size as your zippered pillowcase (the black one).
- Sew the bottom edge of the lining closed to create a pouch.
- Place the lining inside the zippered pillowcase (right side out), ensuring the zippered case is still inside out.
- Sew around the top edge, just under the zipper, to secure the lining.
- Hand-tack the lining in place at the corners so it doesn’t shift.
- Flip the entire piece right side out—you now have a structured, zippered pouch with a lining!


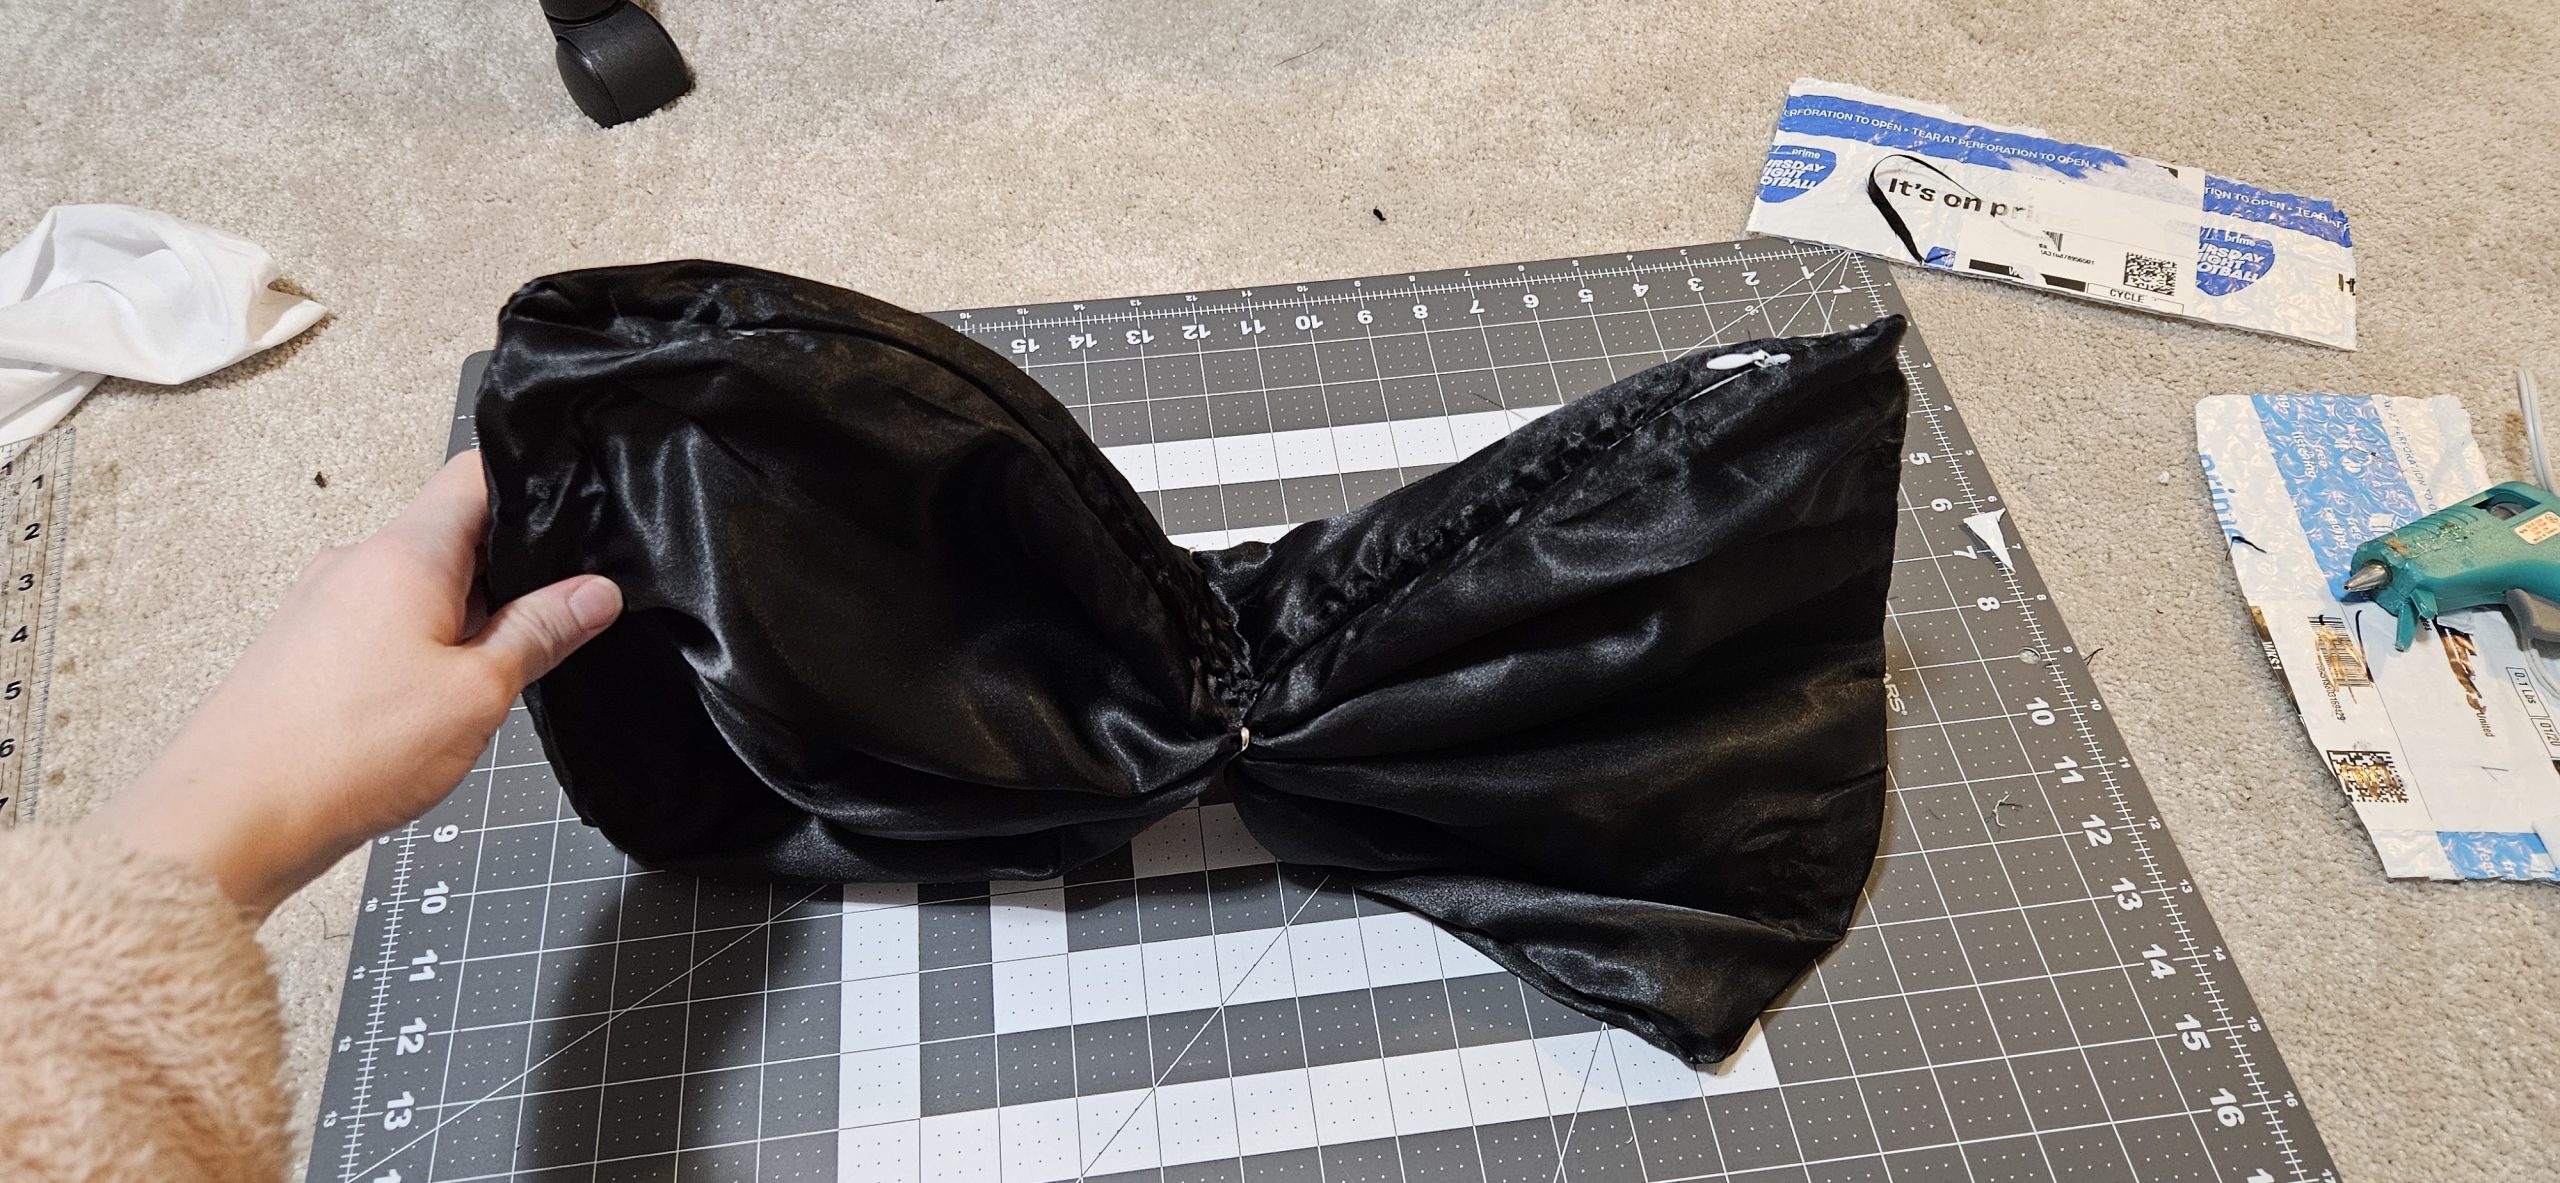
Step 3: Shaping the Bow
- Pinch the center of the square pouch to form a bow shape.
- Using a needle and thread, hand-sew through the pinched area multiple times, securing the shape while avoiding sewing through both layers (you want the bag to remain openable).

Step 4: Making the Bow Details
Creating the Bow Tails
- From the fabric cut off the zippered pillowcase, cut two long rectangles for the bow tails.
- Sew the long edges together, forming fabric tubes.
- Use French seams to close the openings:
- Fold the raw edges inside the tube.
- Sew over them so no raw edges are visible.
- Position the tails under the bow center and hand-sew in place.


Making the Bow Center Band
- Cut a shorter fabric strip and form another tube using the French seam method.
- Wrap it around the pinched center of the bow, pinning it first to determine the right length.
- Hand-sew the band in place, securing it only to the outer layer so the purse remains usable.


**Step **5: Attaching the Strap Loops
- Cut two small fabric rectangles and create tubes.
- Sew these small tubes into loops and attach them to the upper corners of the bow.
- Attach your purse strap to these loops using hooks or clasps.
Step 6: The Final Touches
- Double-check all stitching to ensure the purse is secure.
- Trim any excess thread or fabric.
- Add embellishments if desired, such as decorative stitching or a small charm.
- Zip it up, attach the strap, and admire your creation!


We’re two sisters with a passion for wearable style and interior design mixed in with some self-care and family tips. Our blog is dedicated to helping you find your unique fashion formula, both in your wardrobe and your living space. Follow us for style tips, home décor inspiration, self care ideas, family advice that help you create changes that reflect who you are.